Getting started with Juju
Juju works with public clouds, private clouds, and locally with LXD. A central Juju controller (machine) is used to process all of the events that occur between the Juju client and the workload machines.
The instructions on this page will show you how to get started with Juju by using the online hosted Juju controller, the Juju as a Service (JAAS) controller. If you'd prefer to test it out locally, see the Using Juju locally (LXD) guide.
JAAS
JAAS supports deploying, configuring, and operating your applications on the three largest public clouds: Amazon Web Services, Google Compute Engine, and Microsoft Azure.
All you will need is an account with one of the above clouds, its user credentials, and, for authentication, an Ubuntu Single Sign On (SSO) account.
If you don't yet have an Ubuntu SSO account you can sign up for one here (it's easy and free).
You can now log in to JAAS.
Create a model
If this is your first time using JAAS you won't have any models yet. Press the 'Start building' button to begin the journey.
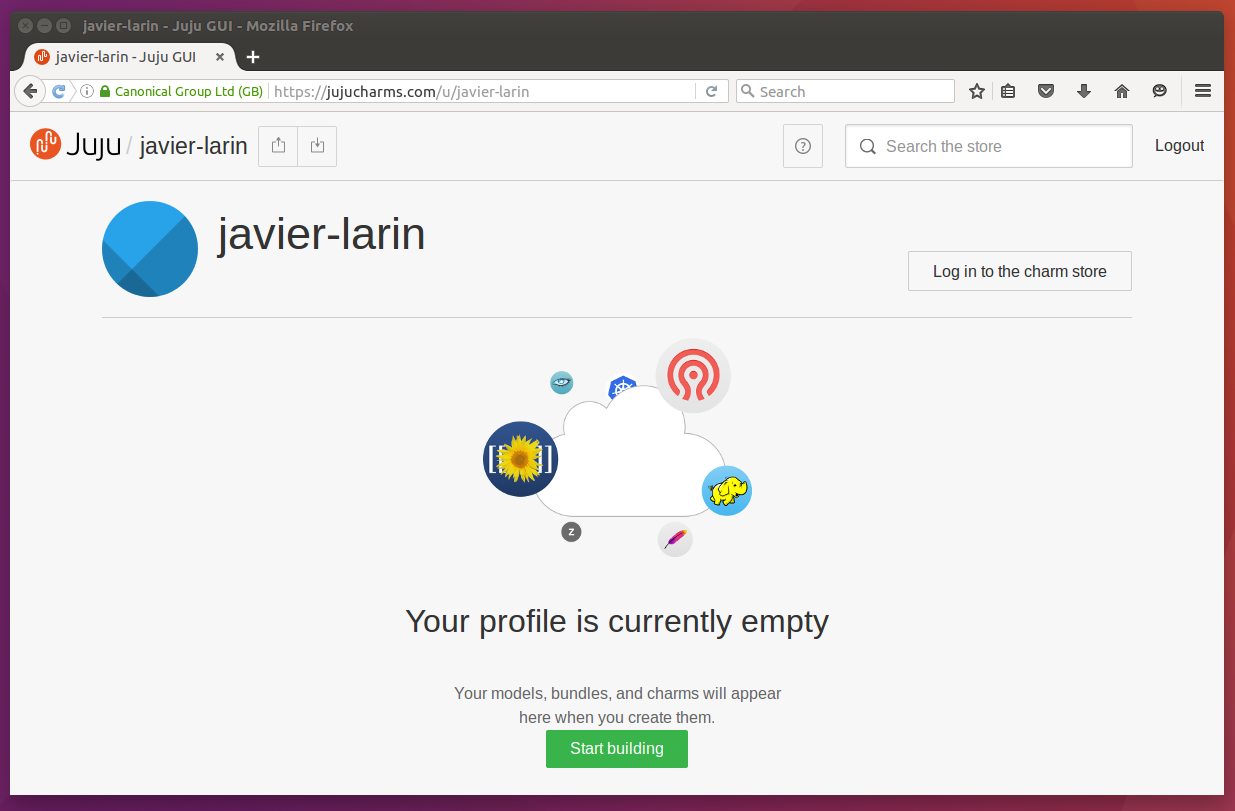
Press the green 'Start building' button to get started... |
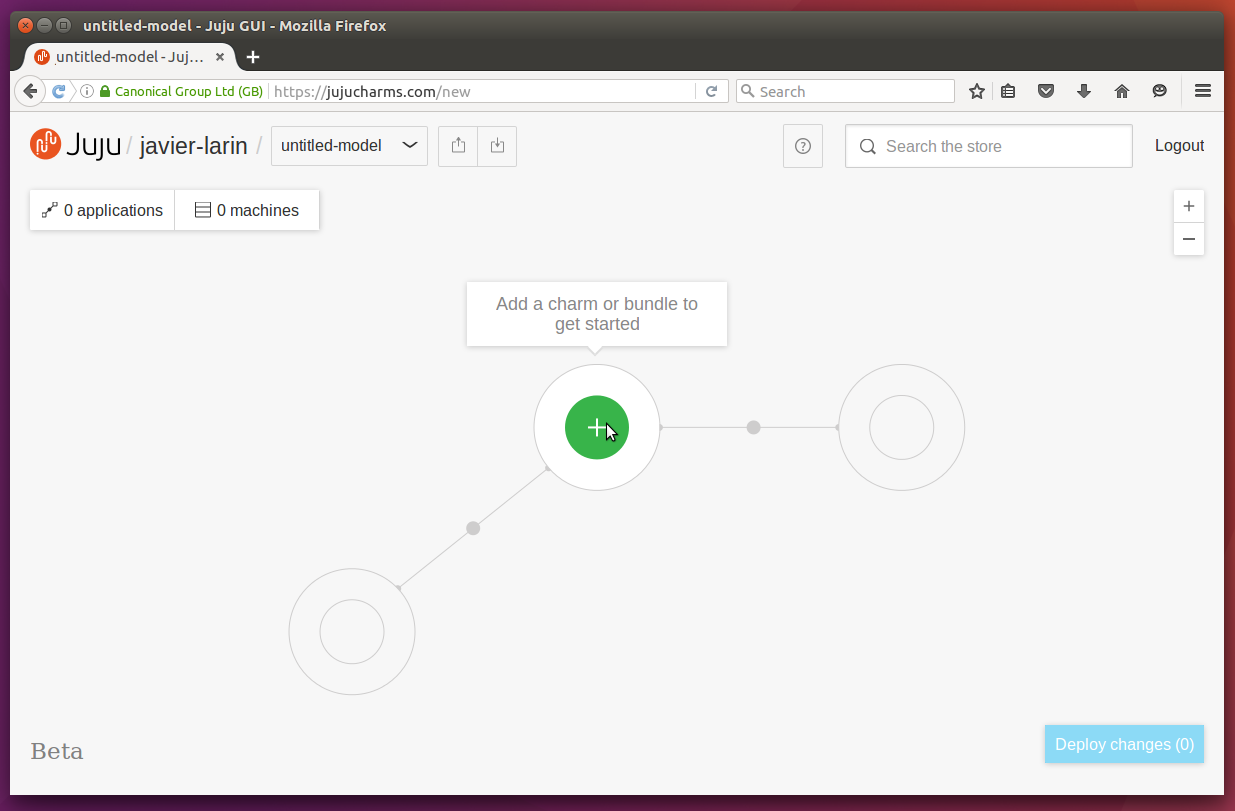
... and reveal your (currently empty) model. |
You build your model by adding and relating applications from the Charm Store. Press the green '+' symbol in the middle of the web UI to search for applications in the Charm Store.
You will see a list of available charms and bundles with a description of each. Select a charm or bundle to learn more about it.
When you have selected a charm or bundle it can be added to your model by pressing the 'Add to model' button.
Hint: to see how easy JAAS makes complex deployments, try the Canonical Kubernetes bundle.
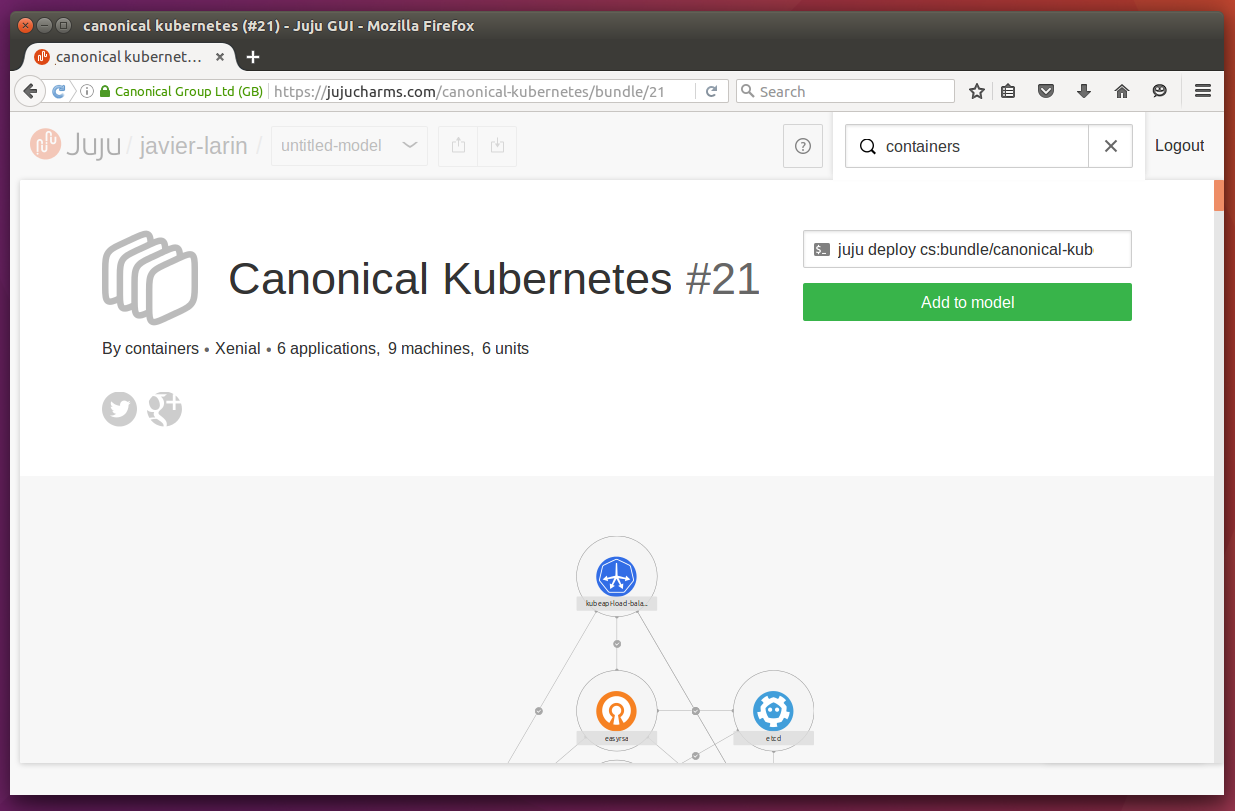
Press the green 'Add to model' button to select the solution. |
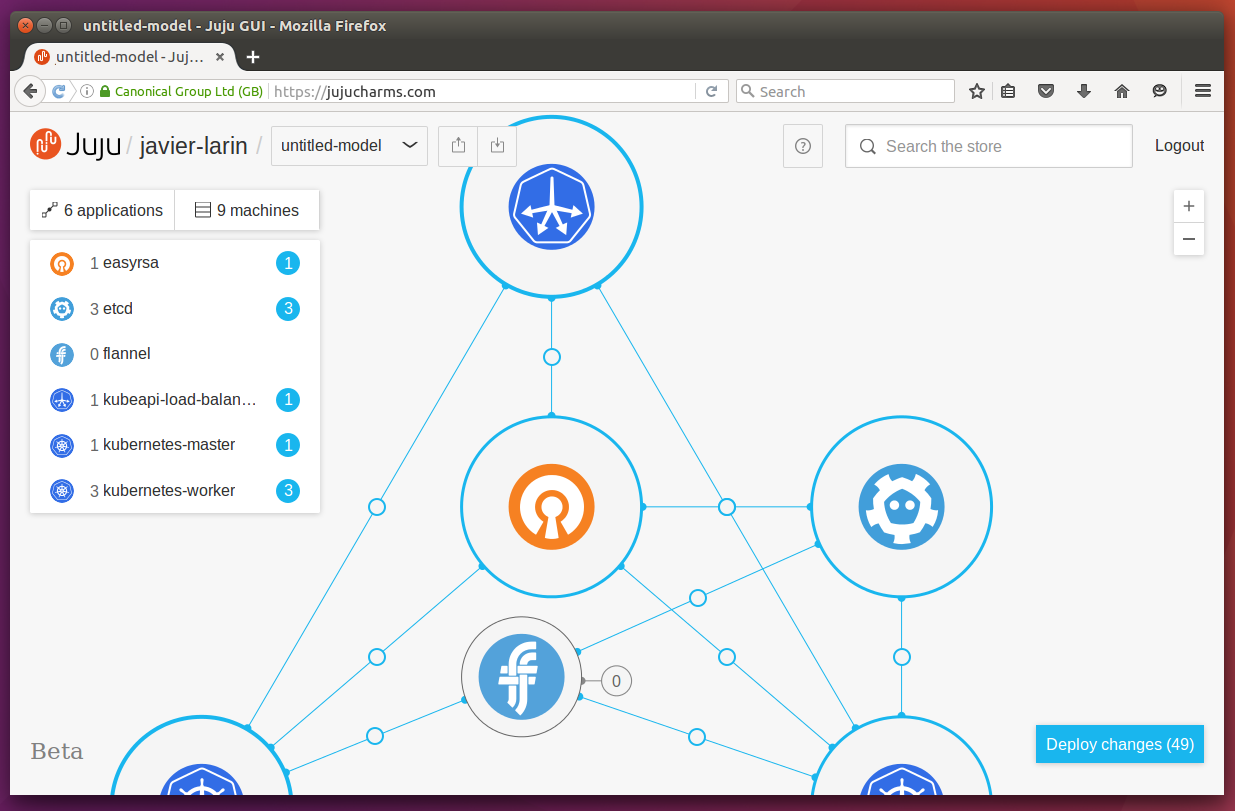
Press the blue 'Deploy changes' button to proceed. |
After you press Deploy changes you can adjust your model name and choose a
cloud. When you select a cloud, you will be guided through the process of
entering credentials for it.
Prepare your cloud credentials
We recommend that you generate a new set of credentials exclusively for use with JAAS. Typically, this involves downloading a file from your chosen cloud's web console.
See Cloud credentials for more information, along with the following links for your specific cloud:
Deploy
Click on Deploy to confirm your cloud information and build your model (and
its applications).
Deploying takes a few minutes - during this time, instances are being created in the cloud, software is being installed, applications are being related to each other and configuration is being applied.
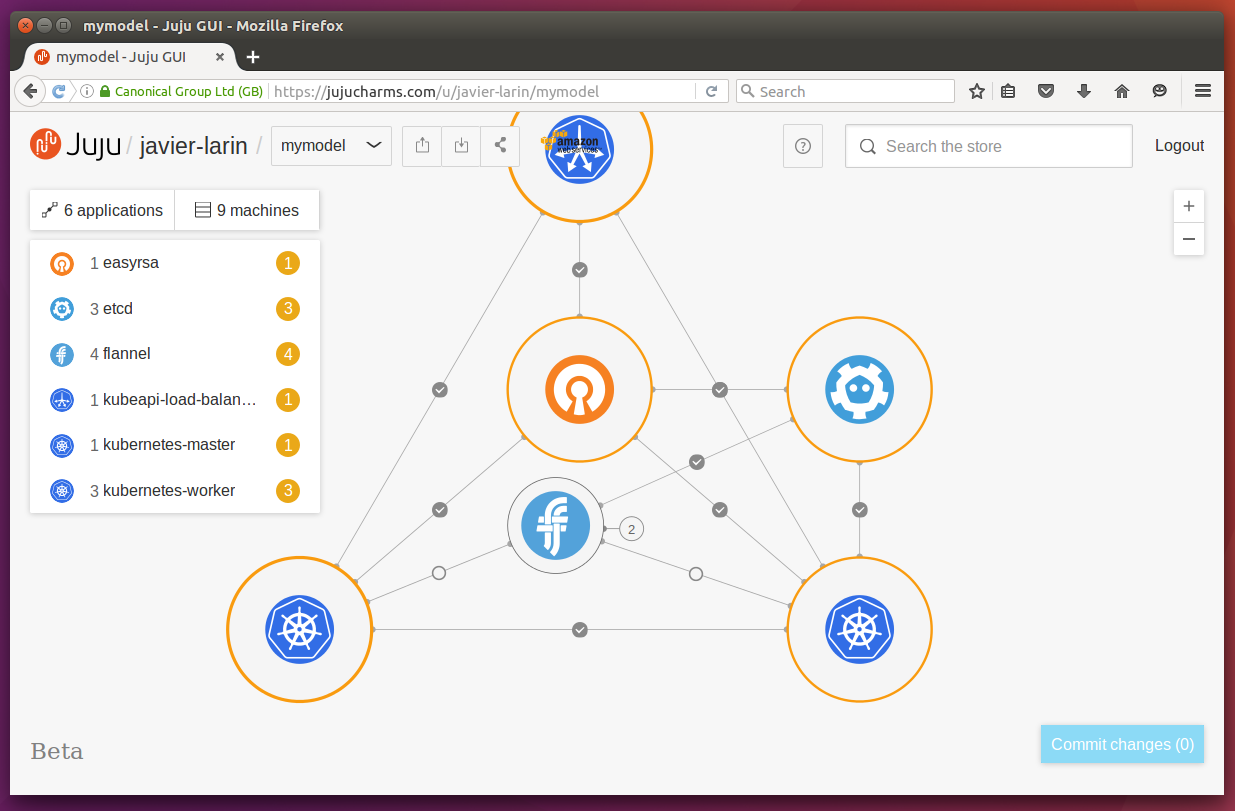
Deploying a bundle can take a few minutes... |
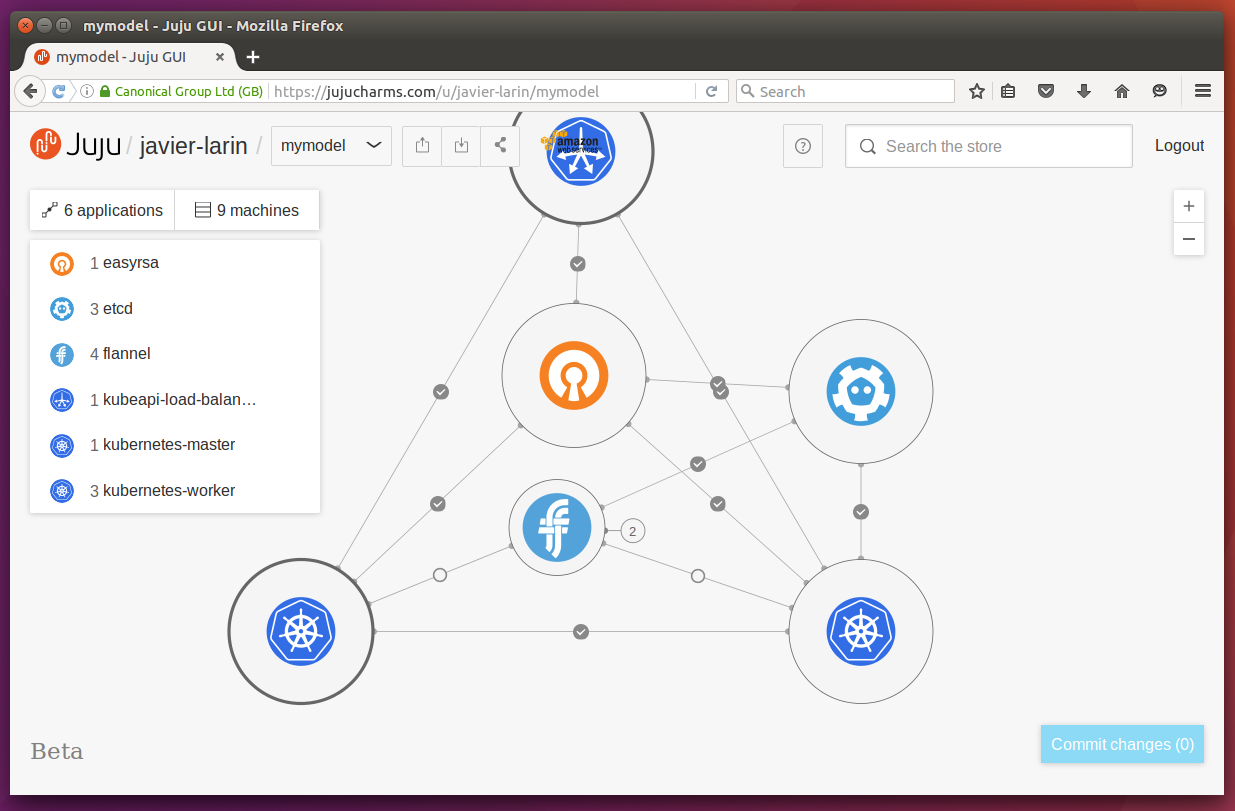
When complete, the application icons will turn grey. |
As the applications become operational, the colours in the model view will change to grey to indicate an idle state, and the pending notices (amber circles) on the left will disappear to show that everything is working as expected.
Tip: You can check and manage existing models through the JAAS web UI by clicking on your username.
Use the command line
Juju can also be used from the command line. Models you've created with the JAAS website can also be operated via the normal Juju command line. In order to use the command line, you will first need to install the Juju client software on your machine.
Juju is available for various types of Linux, macOS, and Windows. Click on the sections below for the relevant instructions or visit the install instructions for a thorough run down of your options.
Get started quickly by picking your OS from below:
On an OS which supports snap packages
For Ubuntu 16.04 LTS (Xenial) and other OSes which have snaps enabled (see the snapcraft.io site) you can install the latest stable release of Juju with the command:
sudo snap install juju --classic
You can check which version of Juju you have installed with:
sudo snap list juju
And update it if necessary with:
sudo snap refresh juju
It is possible to install other versions, including beta releases of Juju via a snap package. See the install for more information.
From the Ubuntu PPA
A PPA resource is available containing the latest stable version of Juju. To install:
sudo add-apt-repository -yu ppa:juju/stable sudo apt install juju
For Windows
A Windows installer is available for Juju.
Please see the install docs for other versions.
For macOS
The easiest way to install Juju on macOS is with the brew package manager. With brew installed, simply enter the following into a terminal:
brew install juju
If you previously installed Juju with brew, the package can be updated with the following:
brew upgrade juju
For alternative installation methods, see the install docs.
For CentOS
A pre-compiled binary is available for CentOS.
Please see the install docs for a link to the latest version.
Log in to JAAS
To connect to JAAS from the command line you'll need to log in to the JAAS controller. Enter the following command:
juju login jaas
This command will open a new window in your default web browser and use Ubuntu SSO to authorise your account. If the browser doesn't open, you can manually copy and paste the unique authorisation URL from the command output.
After successful authentication, you will be asked to enter a descriptive name for the JAAS controller (we suggest JAAS). Now you can operate your models or applications in JAAS from the command line. You can see a list of all of your controllers using the command:
juju controllers
View models
You view the list of your models on the controller with the command:
juju models
You can switch focus between your models at any time:
juju switch mymodel
Remove models
The model you created earlier is running in your selected cloud. If you want to permanently remove it, you can use the JAAS GUI, or run the command:
juju destroy-model mymodel
This process may take a few minutes to complete, as Juju releases the running resources back to the cloud.
Next steps
Congratulations! You have now deployed a complex workload in the cloud without hours of looking up configuration options or wrestling with install scripts!
To discover more about what Juju can do for you, we suggest taking a look at some of the following pages of documentation: